Table of Contents
Introduction:
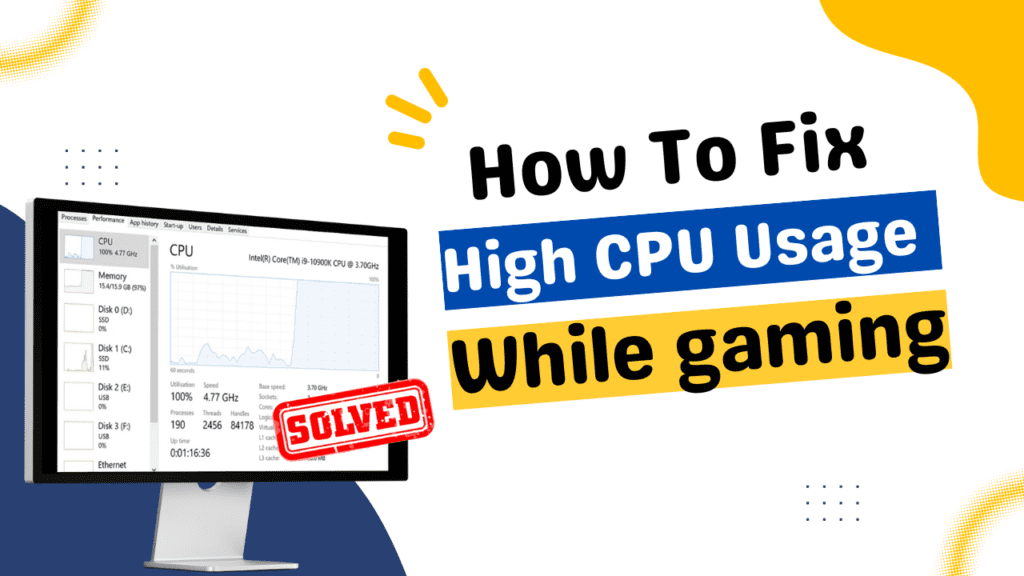
Are your gaming adventures being held back by frustratingly high CPU usage? Don’t let your gameplay suffer! In this comprehensive guide, we’ll walk you through practical steps to tackle high CPU usage specifically when playing games. Get ready to level up your gaming experience by optimizing your system for peak performance.

Step 1: Update Windows for a Smoother Gameplay Experience
Before you embark on your gaming journey, ensure that your Windows operating system is up to date:
- Search for “Windows Update” in the Start menu.
- Check for available updates and install them.
- After installation, restart your computer to apply the updates.
By keeping Windows up to date, you’ll benefit from bug fixes and enhancements that can contribute to a smoother gaming experience.
Step 2: Optimize Your Startup Apps
Reduce unnecessary distractions and resource drain by optimizing your startup apps:
- Open the Settings menu.
- Search for “Startup Apps.”
- Review the list and disable unnecessary apps from starting with Windows.
Streamlining your startup apps ensures that your gaming sessions begin with a clean slate, free from unnecessary CPU consumption.
Step 3: Enhance Gaming Performance by De-Animating Windows
Animations might look cool, but they can hog your CPU’s resources. Let’s streamline your system for optimal gaming performance:
- Search for “Adjust the appearance and performance of Windows.”
- Choose the “Adjust for best performance” option.
- Apply the changes and click “OK.”
By turning off resource-intensive animations, your computer can focus its power on delivering a seamless gaming experience.
Step 4: Supercharge Boot Time for Swift Gaming Action
Accelerate your boot time for quicker access to your gaming realm:
- Search for “System Configuration” and open it.
- Navigate to the “Boot” tab.
- Click on “Advanced options” and select the maximum number of processors.
- Confirm your selection by clicking “OK” and then “Apply.”
By optimizing your boot process, you reduce waiting time and ensure that your CPU is ready for gaming action in no time.
Step 5: Choose the Perfect Power Plan for Gaming
Give your CPU the energy it needs for gaming prowess:
- Access the Control Panel and search for “Power Options.”
- Select the “High Performance” power plan.
This power plan provides your CPU with the necessary resources to handle intense gaming sessions without holding back.
Step 6: Battle Background Apps to Boost Gaming Performance
Background apps can sneakily steal CPU power. Let’s regain control:
- Search for “Local Group Policy Editor” and open it.
- Navigate to “Windows Components” > “App Privacy” > “Let Windows apps run in the background.”
- Set it to “Force Deny” for all Windows applications.
By limiting background app activity, you ensure that your CPU is fully dedicated to delivering an immersive gaming experience.
Step 7: Create a Game-Saving Restore Point
Prepare for the unexpected by creating a game-saving restore point:
- Search for “Create a restore point” and open System Properties.
- Click “Create” and give your restore point a unique name.
- Confirm by clicking “Create” again.
This restore point acts as a safety net, allowing you to revert to a stable state if gaming optimizations don’t go as planned.
Step 8: Unleash Gaming Potential with the CPU Optimization Pack
Elevate your gaming performance with the ultimate power boost:
- Download and install the CPU Optimization Pack.
- Clean up temporary files using the included tool.
- Run the CPU optimization registry files to fine-tune CPU settings.
- Optimize CPU priority for your specific CPU type (AMD or Intel).
By optimizing your CPU, you ensure that it operates at its full potential, delivering a gaming experience like never before.
Conclusion: Your Epic Gaming Victory
You’ve successfully conquered the realm of high CPU usage during gaming! By following this step-by-step guide, you’ve armed yourself with the knowledge and tools to optimize your computer for peak gaming performance. Say goodbye to lags, stutters, and high CPU usage – your gaming experience has just leveled up! If this guide helped you on your gaming quest, remember to share, subscribe, and spread the word. Get ready to embark on epic gaming adventures with a CPU that’s ready to handle any challenge that comes your way. Happy gaming!


